What if your brand could look like a $5,000 professional design — in just one naptime?
No design background. No expensive software. No face required.
What’s Inside This Guide:
- The Brand Kit Shortcut: Why 30 minutes beats “waiting for a designer”
- The Color Strategy That Sells: How to pick 3-5 colors that actually convert (no color theory degree required)
- Building Your Typography Stack in Canva: Two fonts that look expensive and professional
- Logo, Icons & Imagery Essentials: The minimal asset list you actually need
- Your Brand Kit Launch Checklist: Step-by-step walkthrough to lock it all in Canva
- The Myth That’s Holding You Back: Why you don’t need “a unique brand” to win at passive income
- From Brand Kit to Sales: How to turn your new brand into your first $500
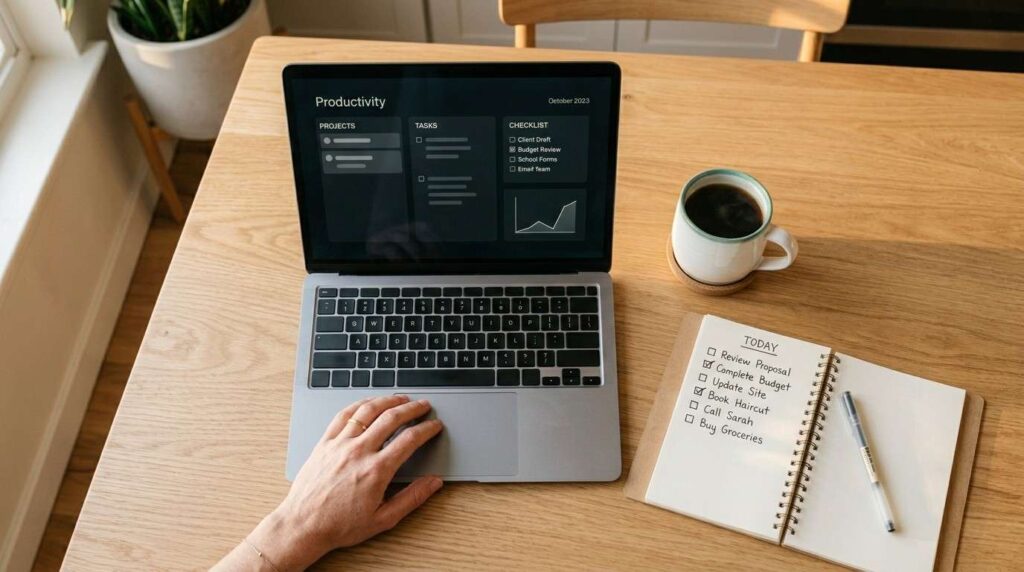
The Brand Kit Shortcut — Why 30 Minutes Beats "Waiting for a Designer"
Do you have a saved folder of fonts and colors somewhere on your laptop that never actually gets used consistently?
Sound familiar?
The truth is, most busy parents skip the brand kit step entirely — and then wonder why their Etsy shop, product covers, and Instagram posts look like they were made by three different people.
Instead of winging it every single time, a brand kit gives you a locked home inside Canva where your colors, fonts, and logos live permanently.
Every new design you create automatically pulls from it.
That means you stop starting from scratch. Every. Single. Time.
Consistency equals trust. Trust equals sales. And right now, you have about 30 minutes — not 30 hours — to make this happen.
Your brand kit becomes the engine behind everything: your Etsy shop banners, your digital product covers, your email headers, your social media thumbnails.
Build it once. Use it forever.
If you’re still figuring out what to sell inside that brand, this breakdown of digital product ideas for parents is worth a quick read before you dive in.
Once your brand kit is built, every future design takes half the time it used to.
The Color Strategy That Sells (How to Choose Your Brand Palette Without Overthinking)
Here’s the thing. Most people freeze at color choice because they think they need to be original.
You don’t.
Similarly to how major consumer brands have used the same two or three colors for decades, your brand just needs to be recognizable — not revolutionary.
Here’s your 8-10 minute color formula:
Start with ONE anchor color. This is the color people will associate with you. Not sure where to start? Try the “competitor spy” trick — screenshot 3-5 brands in your niche that you admire, then use Canva’s eyedropper tool to pull their exact hex codes. Pay attention to what keeps showing up.
Add ONE neutral. Charcoal, soft black, or a warm white. This grounds everything and keeps your designs from looking chaotic.
Then add TWO accent colors that complement your anchor. Use Canva’s built-in color palette suggestions or drop into Coolors.co — it generates beautiful, harmonious palettes in under five minutes.
Now test it. Create a quick mock product cover in Canva using all four colors. Does it feel like you? Does it feel professional? If yes — lock it in.
That’s your palette. Done.
The best part? You never have to second-guess your colors again.
Building Your Typography Stack in Canva — Two Fonts That Look Like Money
For example, imagine scrolling through Etsy and landing on a product cover with a clean, modern font pairing.
It looks polished. It looks intentional. You assume the seller knows what they’re doing.
That’s the power of a typography stack — and it takes about 5-7 minutes to build yours in Canva.
You only need two fonts. That’s it.
Font #1: Your Personality Font. This is the one that sets the vibe — modern, friendly, professional, playful. Use it for headlines and calls to action only. Before you commit, test it on three different Canva templates to see how it reads at different sizes.
Font #2: Your Readable Font. This is your workhorse. Poppins, Inter, and Montserrat work for 90% of online business brands. Clean. Versatile. Easy to read on a phone screen.
To add them to your brand kit: go to Settings > Brand Kit > Fonts > Add Font.
Use your personality font sparingly. Use your readable font everywhere else.
Two fonts. One rule. Infinite professional designs.
Logo, Icons & Imagery Essentials — What You Actually Need (And What to Skip)
Let me be real with you.
You don’t need a logo to start.
Therefore, if you’re spending three hours trying to design the “perfect” logo before you’ve made a single sale — stop. Right now.
If you want a logo, keep it simple: use your personality font with your brand name, or grab a free Canva logo template and swap in your colors. Done in under five minutes.
What you do need:
- 5-8 simple icons that match your color palette (Canva’s free element library has thousands)
- Your logo (even a text-based one) uploaded to your Brand Kit
- 2-3 brand imagery examples — one product photo style, one lifestyle photo style
Upload all of this to the Media section inside your Canva Brand Kit so it’s always one click away.
This step takes about 7-10 minutes — and it’s less about being unique and more about being consistent.
Consistency is the only design strategy that actually compounds over time.

Your Brand Kit Launch Checklist — Lock It All In Canva (Step-by-Step)
However, knowing what to build and actually building it are two different things.
So let’s close that gap right now. This step takes 12-15 minutes.
Here’s your exact canva brand kit tutorial, start to finish:
Step 1:
Open Canva. Click your profile icon in the top right corner. Select Brand Hub > Brand Kit > Create a Brand Kit.
Step 2:
Add your brand name. Then paste in your 4 hex codes under Brand Colors. Label each one (anchor, neutral, accent 1, accent 2) so you remember their purpose.
Step 3:
Navigate to Fonts. Add your personality font and your readable font. Set which one is for headings and which is for body text.
Step 4:
Go to Logos. Upload your logo file, your favicon (a small square version of your logo), and 2-3 brand imagery examples to your media library.
Step 5:
Open a Canva template — a social post, a product cover, or an email header. Apply your brand kit. Does everything look cohesive? Adjust anything that feels off.
Step 6:
Save. From this point forward, every new design you open in Canva will automatically offer your brand colors and fonts first.
That’s your canva brand kit for beginners — built, locked, and ready to scale.
Ready to go beyond the brand kit?
The Canva Playbook walks you through the exact design skills you need to turn that brand kit into finished digital products — social media graphics, ebook covers, templates, and more. It’s the step-by-step guide built for parents who have 30 minutes, not 30 hours.
The Myth That's Holding You Back — Why You Don't Need a "Unique" Brand to Win
In other words: stop waiting until your brand feels “original enough” to launch.
Here’s what the data actually shows. According to research from Nielsen, consumer trust is built through repeated exposure — not creativity. Familiar feels safe. Safe converts.
Most successful side-hustle parents copy the color and font formula from brands they already admire.
Neutral base + one bold anchor + two complementary accents = 80% of winning brand kits in the digital product space.
“Original” does not equal “profitable.”
Your first customers aren’t buying your brand. They’re buying the solution your product gives them. Clarity and consistency close the sale. Creativity is a bonus that comes later.
Invest in uniqueness after you’ve hit your first $1,000. Right now, just be clean, clear, and consistent.
The truth is — done and consistent will always beat perfect and invisible.
From Brand Kit to Sales — Your Next 30-Minute Action
Therefore, here’s exactly what to do with your new brand kit today.
Total time: 25-30 minutes.
Design 3 variations of your product cover using your locked brand kit. Swap the layout, not the colors or fonts. Canva does the heavy lifting — you just move elements around.
Upload to Etsy or Beacons.ai. Then send a 5-minute email to your list with the subject line: “New [Product Name] — Here’s What’s Inside.” Keep the email to 3-4 short paragraphs. Link to your product page.
Track which design gets the most clicks. That’s your audience’s visual preference. Now you know what to lead with on every future product launch.
Repeat with confidence. Your brand kit stays consistent. Your designs stay on-brand. And you stay completely sane.
If you’re still figuring out where to sell, this breakdown of Etsy vs. your own website will help you decide in under 10 minutes.
And if you’re ready to build out a full content system around your new brand, the 90-day content calendar framework is the natural next step.
Everything you want exists on the other side of fear — and right now, the only thing between you and a professional brand is 30 minutes.
Ready to Build a Brand Kit That Actually Converts?
You’ve got the strategy. You’ve got the checklist. Now it’s time to build.
If you want to go deeper — and turn that brand kit into 5+ finished digital product designs, Etsy mockups, and email templates — The Canva Playbook is your next move.
It covers everything from navigating the Canva interface to pro-level design tricks, step by step, with zero design experience required. Over 250,000 free templates, a full breakdown of Free vs. Pro, Mac keyboard shortcuts, and a walkthrough of Canva’s AI-powered design tools — all in one place.
Built for busy parents. Designed to fit in a naptime.
Your brand doesn’t need to be perfect. It just needs to exist — and it needs to be consistent.
Start today. Build the kit. Ship the product.
The best part? You already have everything you need.